
Hole 1 – Par 5 – Index 6
Gold 544 – Blue 513 – Silver 478 – White 465 – Red 443
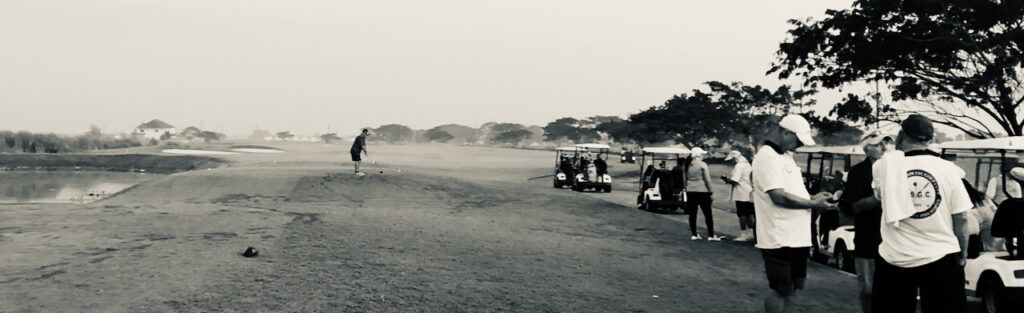
The No.1 par 5 Hole is normally your starting hole for a round of 18 on Beverly. With your first shot, you should try to avoid the fairway bunker on the left side. The hole is straight all the way to the green interrupted by a “water hazard” at about 100 yards before the green. Over the water is 20 yards. Along the hole on the right side, there is a low Stone wall that indicates OB. On the left side stretches a water hazard along about 100 yards, while further on there is a stone (OB) wall. Avoiding the bunkers in front of the green, your last shot before the water should also be tactical regarding the position of the flag.
The green goes from left to right and can easily be overshot. For the higher handicappers, the preferential lie is in front of the green somewhere between the two bunkers left and right of the green.
Most of the holes on Beverly are bordered for some or quite some part by a low Stonewall indicating Out of bounds (OB).
In case you hit the ball OB anywhere on the course, you have the option to play another ball from the tee adding one penalty stroke or hit another ball from the area where the ball went OB adding two penalty strokes. In that case, first, determine as exact as possible where the ball went over the OB border. Then walk from that point towards the edge of the fairway, not closer to the hole, and drop a ball on the fairway within two club-lengths from the edge of the fairway. Click here for a visual. The same procedure applies to a lost ball.
Hole 2 – Par 3 – Index 16
Gold 215 – Blue 180 – Silver 146 – White 138 – Red 115
Hole No. 2 is a par 3 with water on the left side along the fairway and a green-side bunker on the front-right corner of the green. Along the left side of the fairway, you will find water all the way to the green and on the right side, there is a stone wall (OB). The 140 yards tee shot does not land easily on the green even for the lower handicappers avoiding the bunker and the pretty steep slope on the left side of the green. Quite some weeks nobody wins the nearest to the pin competition on this Hole!

Hole 3 – Par 4 – Index 12
Gold 265 – Blue 254 – Silver 225 – White 215 – Red 215
Hole No. 3 is a short par 4 that could even be reached by a long hitter from the silver tees. On the left side you will find the stone OB wall again and on the right side a (dry) “water hazard” from where you most of the time can hit. With your second shot should be able to land on the green although the green is small and well protected by bunkers around the green. Do not overshoot the green or you could be in serious trouble!
Hole 4 – Par 3 – Index 14
Yellow 235 – Blue 211 – Silver 170 – White 155 – Red 133
Hole No. 4 is one of the three par 3’s on the front 9. The green is pretty big and the low and middle handicappers should be able to reach it quite easily. To avoid the water on the left side the higher handicappers have the option to lay the ball up on the, gradually from the green downwards sloping area on the right side and chip the ball up from there. The green is protected on the front-left side by a bunker. Even being on the green you could face a challenging 2-putt considering the size of the green. In case you overshot the green and end up in the shrubs on the backside of the green, find some flowers, present a nice bouquet to your caddy and tell your marker that your ball ended up in a flowerbed for a free drop.

Hole 5 – Par 4 – Index 2
Gold 417 – Blue 390 – Silver 353 – White 335 – Red 320
Hole No. 5 with Handicap Index 2 is considered one of the two most difficult holes on the course hitting 353 yards from the silver tees. For A-Grade handicappers reachable in two from the tee. The fairway is wide with the stone OB wall on the right side coming in play especially when you try to hit straight over the car path. Your – always professional – caddy will advise you to aim more left but avoid the fairway bunker halfway. Just in the middle in front of the green, a bunker is located. A difficult shot in case you have to go over the bunker when the pin is located in the front area of the green. Of course, you could avoid the bunker by landing the ball left or right of the green with your 2nd, 3rd, or 4th shot. The higher handicappers can earn some extra Stableford points by making a Bogey or par.
Hole 6 – Par 4 – Index 10
Gold 316 – Blue 290 – Silver 250 – White – 237 – Red 220
Hole No. 6 is a short but well-designed hole. You’re not allowed to use your driver from the tee to avoid hitting too far to the right and hit a car on the Highway on the right side of the Fairway. Landing your ball just 10 to 20 yards in front of the water, which runs from right to left about 100 yards in front of the green, gives you a good starting point for your next shot to the green. Being on the rightist side gives you a better angle to the green considering the placement of the bunkers. The two-tier green can be a challenge depending on the position of the flag and your ball.
Hole 7 – Par 4 – Index 8
Gold 368 – Blue 343 – Silver 301 – White 285 – Red 265
The water on the left side of the tee-boxes should not come in play when you hit a decent tee-shot. The OB Stonewall on the right side of the car path on the other side should be avoided by hitting a slight draw ending in front or left of the fairway bunker. But we can all do that, isn’t it? Your next challenge is to decide to go for the green or lay up in front of the bunker stretching all along in front of the green. It easy to hit over the – left to right – long but small green and land in the grass behind the green or even OB over or very near to the Stonewall in the back.
Hole 8 – Par 3 – Index 18
Gold 177 – Blue 147 – Silver 116 – White 108 – Red 98
Finally, you made it to Hole No. 8, the easiest hole of the course. It’s your moment to shine and show your skills on this short par 3. Depending on your handicap you will grab your 9, 8, or 5 iron and put the ball in front off, or on the green between the two bunkers on both front corners of the green. A stinger from the tee could get you in trouble when ending in the big bunker or the back area of the green. The green sloops down from that bunker not giving you a lot of green to work with. Would there be a choice in golf after you hit the ball, you surely would prefer a lie in one of the front bunkers.
Up to the last hole of the front nine.
Hole 9 – Par 4 – Index 4
Gold 246 – Blue 235 – Silver 222 – White 212 – Red 200
Another short par 4 arriving ad the last hole of the front nine. Only the short hitters should lift their Driver out of the bag because the water on the right side is coming in treacherously far into the fairway after 160 yards. Your ideal position for your second shot is between the middle bunker left and the water on the right. With only 222 misleading yards from the silver tees, this hole has a Handicap Index of 4! The green is well protected by bunkers and water for a great part around it.
On the left side, you will find the Stone OB wall once more. To avoid the water on the right side, players tend to hit it a little too much to the left ending up under the trees close or over the OB wall on the left. Keeping your tee shot a bit shorter is the smart way to approach this hole! And we always are doing it the smart way in our life as our mother taught us, aren’t we?

Local rule Beverly place: when your ball lands on the PVC lining limiting the water hazard, you’re not allowed to play your ball from the lining but you’ll have to drop it outside the penalty area (previously called water-hazard) adding a one-stroke penalty taking into consideration the Rules of Golf.